
Install the app
How to install the app on iOS
Follow along with the video below to see how to install our site as a web app on your home screen.
Se debe tener en cuenta: This feature may not be available in some browsers.
Estás usando un navegador obsoleto. No se pueden mostrar este u otros sitios web correctamente.
Se debe actualizar o usar un navegador alternativo.
Se debe actualizar o usar un navegador alternativo.
iPhone
- Autor Discord Pie
- Fecha de inicio
Discord Pie
iOS Developer

iPhone 15 supports Qi2 for wireless charging... but no one knows what that means - 9to5Mac
Apple has confirmed that the iPhone 15 and iPhone 15 Pro support the new Qi2 standard for wireless charging. The...
 9to5mac.com
Discord Pie
iOS Developer
Depende del que tengas.Pero entonces… hay que comprar el 15 Pro o esperarse al 16?
Trepamuros
Lanzarredes

Hinomura Krycek
Bayofilo
Hinomura Krycek
Bayofilo
¿El iPhone no puede utilizar cualquier mp3 como timbre?
Hice unas llamadas, y avisé a Tim Cook de que había un par de foreros empapados en crack esperándole en su casa. ¡La diplomacia funciona! ¡Larga vida al euroconector!
Dandreemex
Tabernario
- Mensajes
- 9.427
- Reacciones
- 8.283
Antes había que hacer un truco con iTunes. Ignoro si sigue funcionando. Tenía antes los 20 primeros segundos de Rock the Night, de Europe.¿El iPhone no puede utilizar cualquier mp3 como timbre?
Hinomura Krycek
Bayofilo
No.¿El iPhone no puede utilizar cualquier mp3 como timbre?
Siglo 21 y sigue siendo una puta mierda...
Create and manage ringtones - Apple Community
Create a ringtone
- Select a track to use as the source. You cannot use an Apple Music subscription item, or anything that is in the cloud.
- On the Get Info > Options tab set start and stop times no more than 30 seconds apart. ***
- Under Edit (Win) or iTunes/Music (Mac) > Preferences > General tab > Import Settings choose AAC Encoder > High Quality 128k. **
- Use File > Convert > Create AAC version.
- Reset the start and stop times on the original track.
- Right-click on the new copy and click Show in Windows Explorer or Finder.
- Delete the new entry from the library without sending to the recycle bin/trash. *
- Change the file extension from .m4a to .m4r. (You may need to adjust folder options to see the extensions.)
- If running iTunes 12.7 or later you should move the file into <Media Folder>\Tones.
* If you omit this step on a Mac iTunes/Music will remain connected to the renamed file as if it was a regular music track, and it may then ignore any attempt to manually add it to your device.
** In Music for Catalina or later the Import Settings option is found under Music > Preferences > Files.
*** It used to be possible to create ringtones up to 40 seconds long, but they don't appear to transfer correctly in Catalina or Big Sur.
Add ringtone to device, macOS 10.5 Catalina or later
- Connect your device to your Mac with a cable, and open the general tab for it in Finder.
- Drag and drop your .m4r file from another open Finder window to the General tab for your device. If drag/drop doesn't work try copy/paste instead.
Add ringtone to device, iTunes 12.7 or later
- Connect device to computer.
- Enable the sidebar in iTunes if hidden.
- Drag & drop * or copy & paste the ringtone from Windows Explorer or Finder onto the device where it appears in the iTunes sidebar (drop) or to the Music or Tones sections of the device when expanded (paste). Which method works seems to vary by platform and app so try both.
- From iTunes 12.7 there is no longer a dedicated Tones section within the iTunes library.
- Tones created with earlier versions of iTunes or purchased on and transferred from a device will normally be found in the Tones folder inside the media folder. Alternatively there may be a Ringtones folder in the media folder or the main iTunes folder.
- Tones shared as a ringtone to iTunes with GarageBand for Mac or Logic may be in a folder called Import inside the media folder.
* Some Windows users have noted that this method fails if they are running iTunes as the administrator. In some cases it may be necessary to exit the BTTray.exe utility, if present, before iTunes can be launched in non-admin mode. Mac users may find that omitting step 7 from the steps in Create a ringtone means that iTunes/Music is still attached to the ringtone file as an entry in the music library, if so it will be blocked from copying to a device.
Add ringtone to device, iTunes 12.6.5 or earlier
- Move the file into the Automatically Add to iTunes folder inside your media folder, it will be added to the Tones section of the library and move into the Tones folder inside the media folder.
- If you don't see Tones in the drop down media selection menu click Edit Menu at the bottom and add it.
- Connect the device, select its icon next to the media selection menu, then the device's Tones tab, and set the sync options.
- Sync the device.
Issues after updating iOS
Some users have reported that existing tones will no longer play after an iOS update, or that they cannot add new tones. If this happens you may need to remove all existing tones from the device, reboot, and then reimport your ringtones.
Remove tones using iTunes 12.7 or later
- Connect your iOS device to iTunes.
- Select it using the icon that appears next to the media selection drop down tool.
- Change to manual management if necessary on the Summary tab.
- Select and delete unwanted tones from On My Device > Tones.
- Switch back to syncing with selected content if desired.
N.b. It should be possible to switch a synced device to manual management and back to syncing with selected content without existing content being removed or replaced, despite the warnings iTunes may give, as long as you are using the library previously used to sync content to the device.
Removing hidden tones
Some users have found that custom tones that are on their device don't show in iTunes so cannot be removed using the method above. In such cases you could try iFunBox * or a similar third party utility to make changes in the raw file system of the device. In iFunBox try My Device > Toolbox > User File System (Win) or Raw File System (Mac) then iTunes_Control > Ringtones to locate the relevant folder. Any custom tones on your device show up there with random 4 letter file names and a .m4r extension. Deleting all the .m4r files in this folder should clear all custom tones from the list on the device, and you can then add back what you want using iTunes. You may also need to delete the .plist file found in this folder. Copy off the .m4r files first if you don't have original copies of them on your computer.
* Windows 10 users may need to uninstall iTunes if it was installed from the Microsoft Store and then reinstall using the more traditional iTunes64setup.exe available at https://www.apple.com/itunes/download/win64 to work with iFunBox.
N.b. making incorrect changes in the raw file system has the potential to make your device unstable. Backup before you begin and ideally Archive the backup in case there is a need to return to it.
 Otra feature, así sabes que es un iPhone el que suena…
Yo utilizo Fez y Monkey Island como tonos de llamada para diferenciar trabajo/personal… si alguien los quiere…
Perdón por ofrecerlos en este hilo ¿eh? Mejor lo pongo en el de Androi….
Hinomura Krycek
Bayofilo
Yo hasta puedo crearlos con el Glyph Composer.
Tim
Miembro habitual
- Mensajes
- 36.146
- Reacciones
- 28.211
Pero entonces… hay que comprar el 15 Pro o esperarse al 16?
Si tienes iPhone 11 o anterior, vale.
12 Pro Max en adelante… como veas. La pantalla y cámara principal es el principal avance. Con suerte en el 16 el sensor del zoom es de 48 megapixels. Y con suerte en el 17 se lo ponen al gran angular.
Manu1001
Au revoire.
- Mensajes
- 80.109
- Reacciones
- 22.548
Primero fueron los emojis, ahora los NUEVOS RINGTONES...
iOS 17 includes more than 20 new “ringtone options and sound alerts,”.
The new “Journey” ringtone, which sounds like something out of a classic RPG.
No está. Me siento engañado.
Manu1001
Au revoire.
- Mensajes
- 80.109
- Reacciones
- 22.548
Bueno, pues a falta de probarlo más, creo que iOS 17 sí que resuelve mi queja de la mala calidad en el procesado de las fotografías para lo que puede llegar a dar de sí con una óptica de 48Mpx.
Hasta ahora solo tenías la opción de disparar en ProRAW y ver una muy buena calidad de imagen, pero con un archivo de 75 MB si disparabas a 48Mpx o de 25 MB si te quedabas en 12Mpx.
Ahora, con iOS 17 han añadido una nueva opción llamada HEIF máxima que genera un archivo resultante de 5 MB, que me parece que se va a quedar como mi opción por defecto para las fotos. Las imágenes HEIF que tomaba hasta ahora se quedaban sobre los 1,4MB y la diferencia de calidad merece la pena.
Ojo, que HEIF máxima es un formato de archivo comprimido con pérdidas. No es un archivo RAW con toda la información de la toma. Lo he abierto con Photoshop y no puedes jugar con él igual de bien que con un archivo ProRAW, pero con las pocas pruebas que he hecho, el resultado es mucho mejor que lo que tenía hasta ahora.
Haré unas buenas pruebas y compartiré por aquí, pero creo que con esto me han dado nueva vida al iPhone 14 Pro y su cámara principal.


Y corrígeme si me equivoco, pero en modo video, para usar pro-res tenías que usar apps externas, y ahora puedes activarlo desde la propia app de cámara. Bien.
Discord Pie
iOS Developer

New Portrait photography feature to adjust subject focus not exclusive to iPhone 15 - 9to5Mac
During the September keynote event, Apple touted a whole bunch of new Portrait mode features for the iPhone 15 series,...
9to5mac.com
Sian Khan
Miembro habitual
- Mensajes
- 147
- Reacciones
- 64
Tengo un iPhone 11 Pro que ya empieza a fallar de batería y al que le noto algo de falta de fluidez. No sé si iOS17 resolverá mis problemas u optar por comprar el iPhone 15 Pro…
CC @Tim @Discord Pie
CC @Tim @Discord Pie
Discord Pie
iOS Developer
Cámbiale la batería en Apple y sigue con el.Tengo un iPhone 11 Pro que ya empieza a fallar de batería y al que le noto algo de falta de fluidez. No sé si iOS17 resolverá mis problemas u optar por comprar el iPhone 15 Pro…
CC @Tim @Discord Pie
Discord Pie
iOS Developer
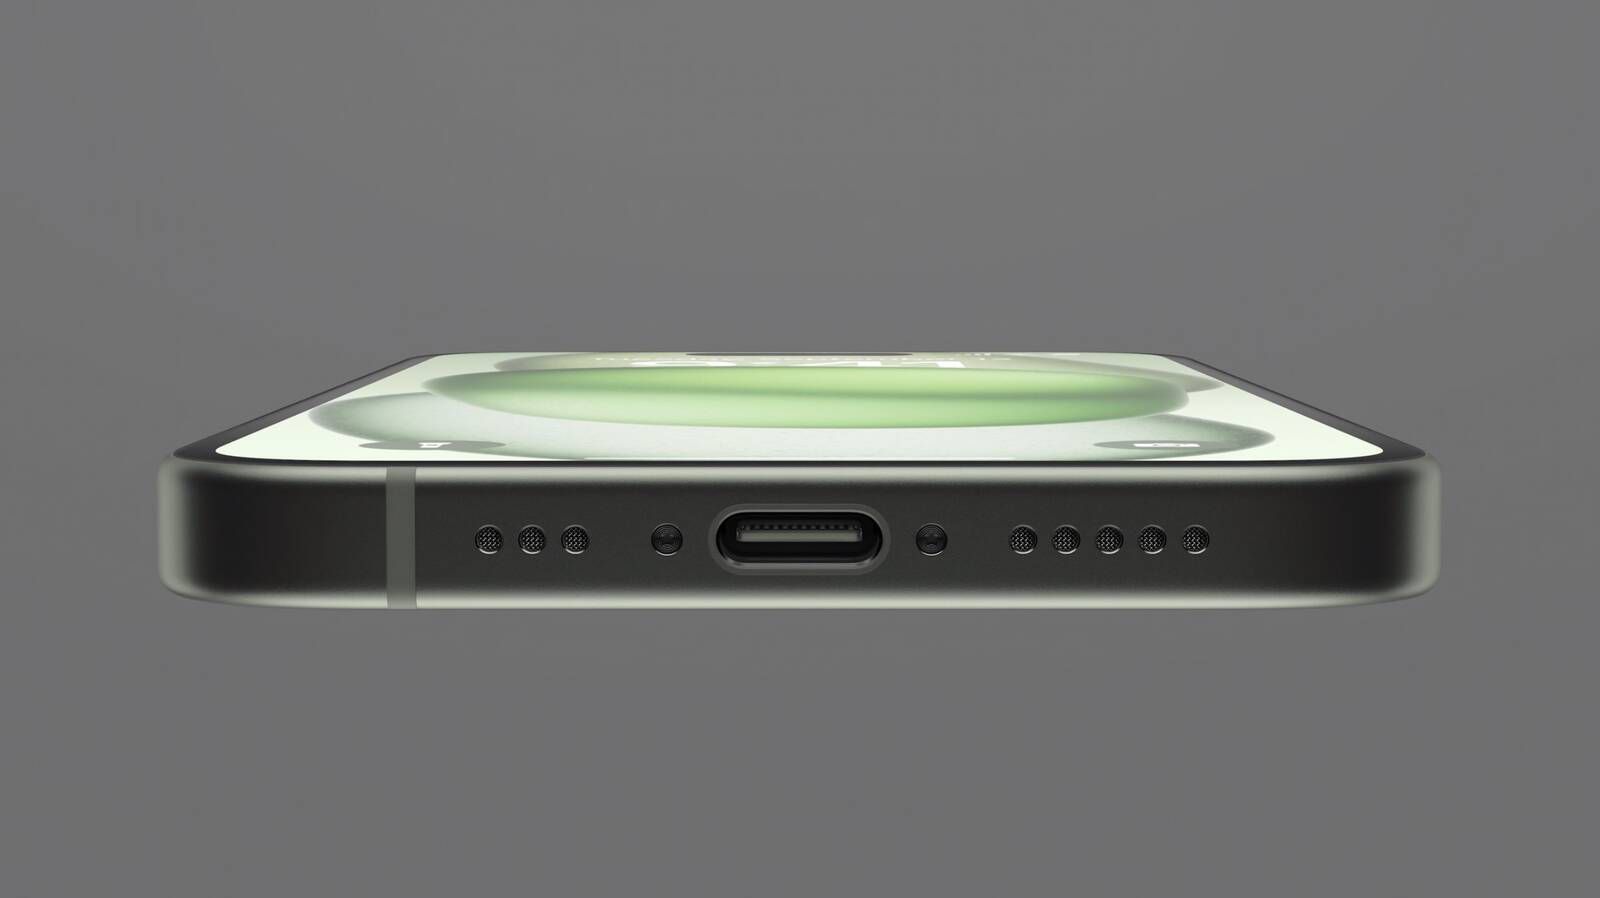
All iPhone 15 Models Support DisplayPort for Up to 4K HDR Video Output
The new iPhone 15, iPhone 15 Plus, iPhone 15 Pro, and iPhone 15 Pro Max all support DisplayPort for up to 4K HDR video mirroring and video output to...
 www.macrumors.com
¿Sólo se han presentado iPhone? ¿Nada de iPad?
Discord Pie
iOS Developer
iPhone, Apple Watch y AirPods 2.1.¿Sólo se han presentado iPhone? ¿Nada de iPad?
Discord Pie
iOS Developer

Geekbench shows how much faster the iPhone 15 Pro's A17 chip is
The new iPhones are finally here, and when it comes to the iPhone 15 Pro and iPhone 15 Pro Max,...
9to5mac.com
Hinomura Krycek
Bayofilo
iPhone 15 Pro’s A17 Pro is slightly faster than A16Geekbench shows how much faster the iPhone 15 Pro's A17 chip is
The new iPhones are finally here, and when it comes to the iPhone 15 Pro and iPhone 15 Pro Max,...